Creating a New Ticket
There are a ton of ways of creating Tickets!
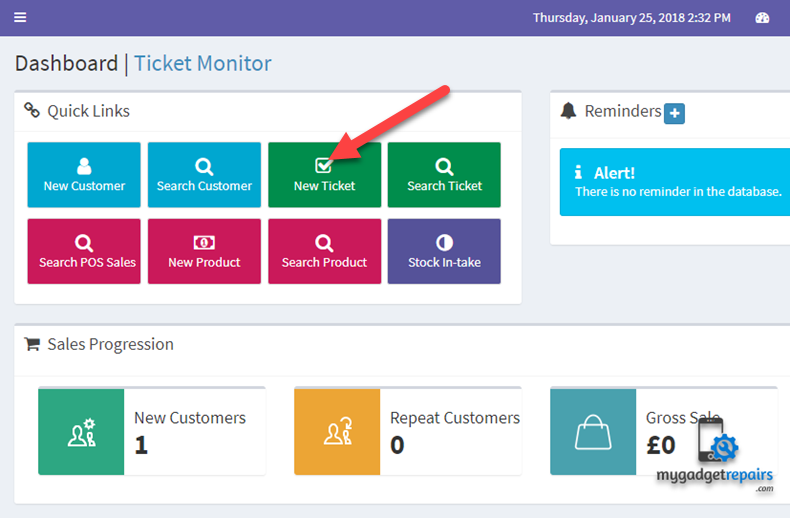
You can click on the big green button “New Ticket” on the Dashboard screen.
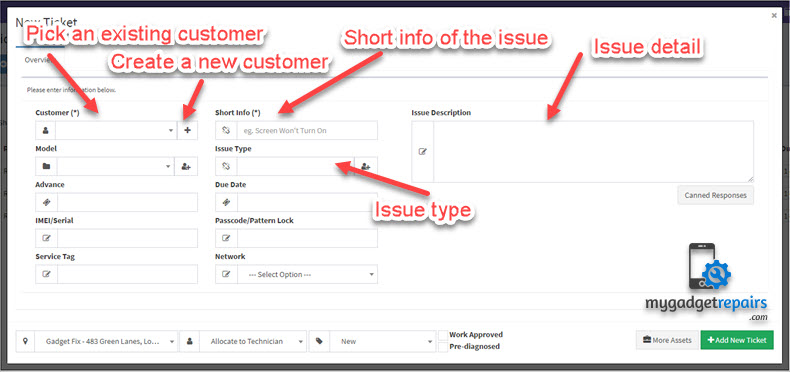
Fill in the fields, the issue description does get emailed like any public ticket comment. The email will have your header and footer on it, and a link to the Track Ticket where they can see the progress of their ticket.
Ticket Workflow
The ticket system tries to help with workflow, but you can ignore that if you want. It starts out with the ticket needing a diagnosis. To do that, just put a comment on the ticket with the subject ‘Diagnosis’. Now the ticket is a regular in-progress ticket.
Next, you probably want to let the system and your team know if/when the job was approved, to do that just make a comment with the subject ‘Approval’. Maybe something like;
“Per our phone call, thanks for approving us to proceed with the repair – we’ll contact you as soon as it’s ready!”
Now the ticket will have the second item in the progress list checked off, it’s been diagnosed, and approved, and you are ready to do the repair.
Be sure to comment every 3 or 4 days if the job is going to take a while to complete, that will keep the ticket from turning yellow or red in the ticket list. It’s a good practice to make ‘public’ comments instead of hidden tech notes, or at least make one public comment for every hidden comment. This way your customer will be comforted with the knowledge that their repair is progressing, and keep them from calling in asking for a status update(usually frustrated).
Completing a Ticket
Now that you have finished their repair, there are a few ways to proceed.
First of all, to close the ticket, just go to the ticket and change the status to “Resolved” – that’s it! Once resolved, the system knows you are done with that job, and it won’t show in the ticket list any more.
There are some things many users do just before that step to keep themselves organized;
- When the repair is complete, but you are waiting for the customer to come to pick it up, use the status “Invoiced” – to mean, invoiced, but here waiting for the customer to come.
- When the repair is complete, and you want to bill the customer, use the “Make Invoice” button on the ticket detail screen, it will link the invoice to the ticket, and if you like, it will put the ticket details on the bottom of the invoice.
- Once the customer comes to pay, you go back and change the ticket from Invoiced to “Resolved/Picked up”. If you forget, the system will email you a note every day about tickets that are open with a paid invoice attached.

