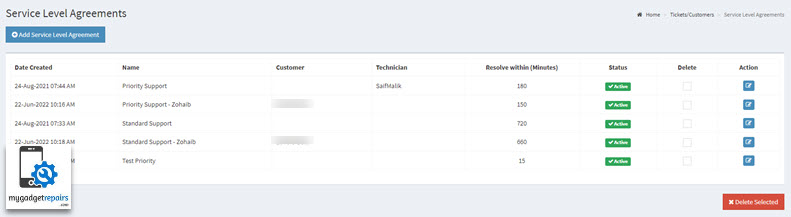
A Service Level Agreement, or SLA, is the standard of service that you agreed to deliver to your customers. The service agreement will represent the response times and the resolution times offered by you. You can configure actions like response time, resolution time, customer, company, assigning tickets to a technician, reassigning tickets to another technician if breached and assigning the priority. Please note that Service Level Agreements are applicable only for the Tickets.
To begin with, MGR allows you to follow two models of service level agreements:
- You can create SLAs for individual customers/companies, or
- You can create a bunch of SLAs (like Standard Support and Priority Support etc.,) and share them across many customers/companies.
SLAs are very simple to set up. You must first create an SLA, to be linked to a customer/company or to share them across many customers/companies.
- Please go to the “Service Level Agreement” manager and click on the “Add Service Level Agreement” button.
- Please configure the actions like response time, resolution time, customer, company, reassigning tickets if breached and updating the priority.
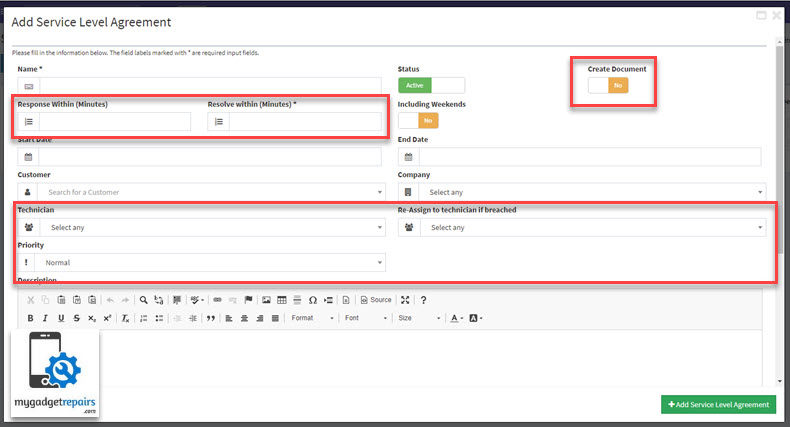
- Once configured please click on the green “Add Service Level Agreement” button. Please note that the SLA name is unique.
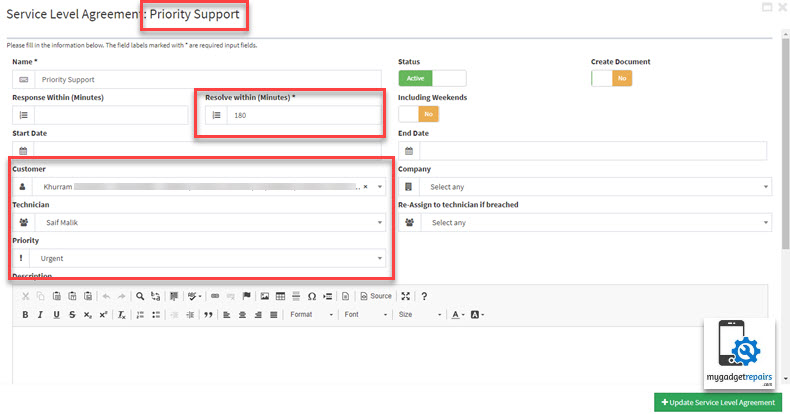
Once the service level agreement is created it will be available on the ticket interface. When you select the customer it will automatically give you SLAs related to that customer, if there is only one then it will automatically apply it to the ticket. All the actions assigned to an SLA will be automatically applied.
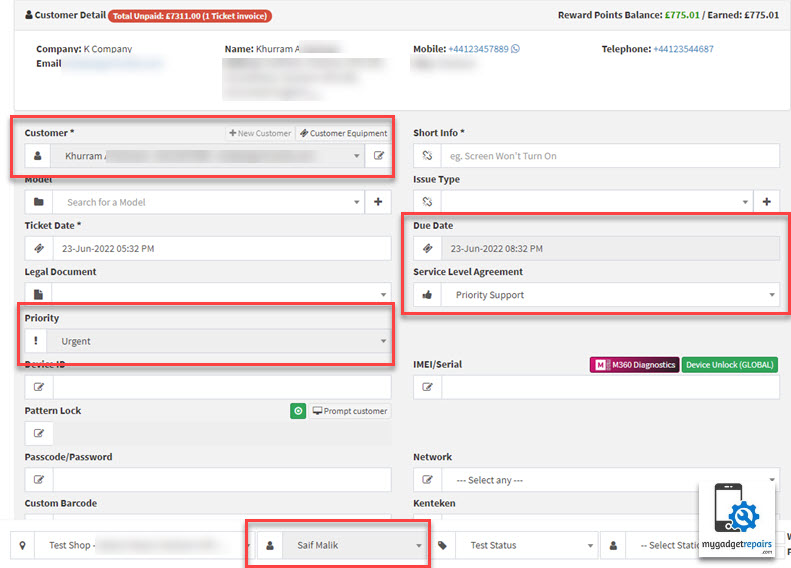
It’s recommended to select the “Service Level Agreements” first when you create the ticket as it sets all values for you. E.g. if your “Service Level Agreements” has customer, technician and priority, then everything will be selected automatically so it’s best to select this first. You can always move the “Service Level Agreements” field at the beginning via the “Ticket Form Layout” if needed.
As you can see from the following screenshot my SLA had the customer, technician and the priority selected.
As soon as I selected the “Service Level Agreements” from the tickets screen it auto-populated the fields and made them disabled so your staff can’t change them. The following is the screenshot.
Please note that there are also “Notifications” related to SLAs which will be triggered automatically.
- 32 – Alert repairer & shop-admin 15 minutes before ticket SLA expires
- 33 – Alert repairer & shop-admin when ticket SLA expired
You can also automate “Service Level Agreements” via the ticket automation as we have the following 2 conditions and one action.
- Condition
- Assigned SLA
- Has SLA
- Action
- SET SLA

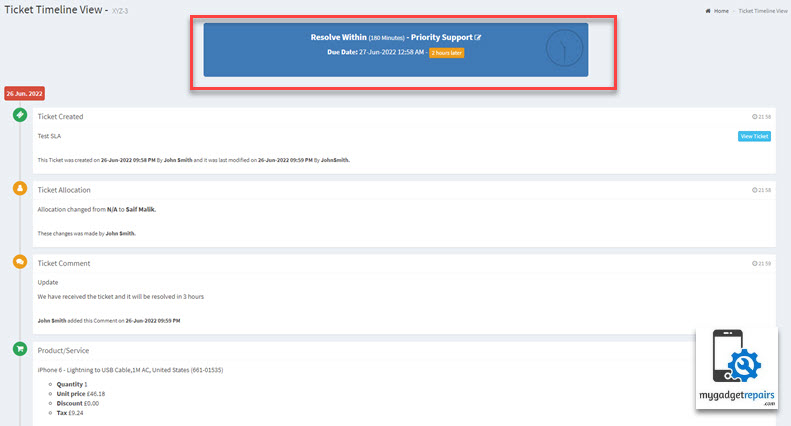
SLA Timeline View
SLA timeline will be shown in the timeline view in detail so you know how the progress is going and if you need interventions.
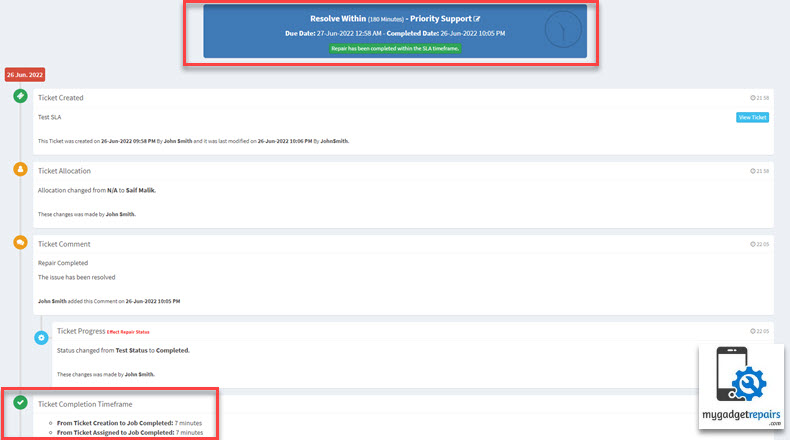
If the issue has been resolved within the SLA’s timeframe then you know the ticket completion timeframe as:
- From Ticket Creation to Job Completed: 7 minutes
- From Ticket Assigned to Job Completed: 7 minutes
It’s always good to know from ticket creation to completion time as well as ticket assigned to completion timeframe.
If the ticket hasn’t been resolved within the SLA’s timeframe then the time view will show the information as:


