The POS (Point of Sale) in MGR allows you to make super-fast transactions where you don’t need to set up a customer or a ticket. You can just scan barcodes and swipe their credit card to take payment.
What it Does
- Allows quick transactions in a touch screen friendly manner.
- Create “Registers” to track cash drawers, open the drawer, etc
- Cash Registers are user based which means each user gets their own register.
- Barcode scanning support for super-fast transactions.
- Model, brand, and category buttons to make it simple to drill down into these categories from a touch screen.
- Create/Search tickets from the POS interface.
- The customer display screen is also available to show and capture data from the customer.
Overview
When you click on the POS button from the “Top Navigation” bar system will ask you to open the register and enter the cash amount present in the cash drawer at that time.

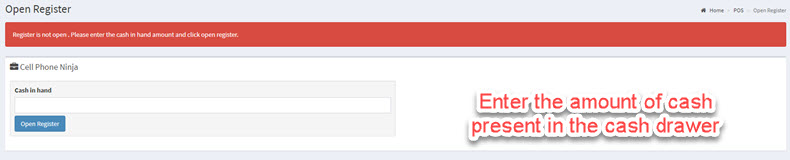
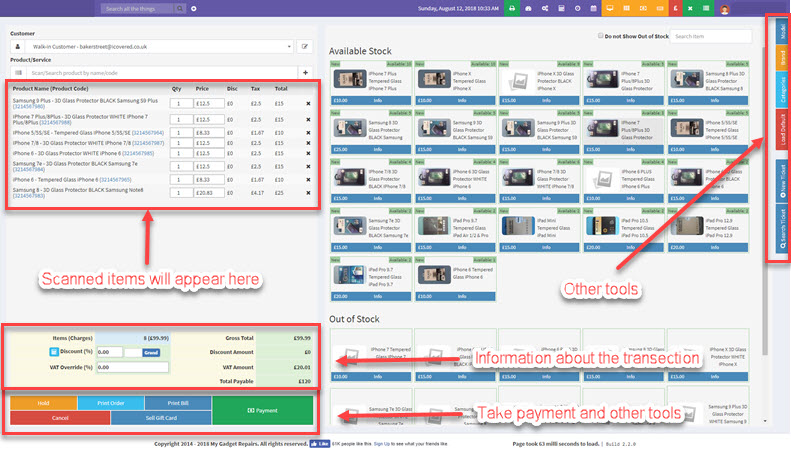
Once the amount has been added system will take you the POS screen which will look like the following screen.
POS Screen
Easily scan items with a bar code scanner for fast item entry or start typing the product name in the provided box, you can also click on the products as well.
Payment Screen
Once you finished scanning its time to pay for the items, please click on the “Payment” to take payment. Please choose the appropriate payment method and click on the “Submit” button, it will take you to the “Print Receipt” page where you can either print or email the receipt to the customer.

Print Customer Receipt
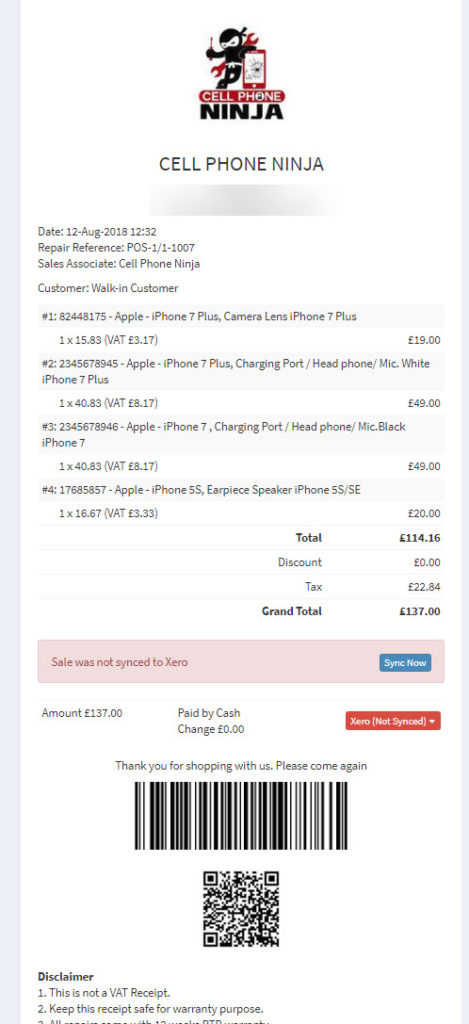
If for any reason you forgot to print the receipt at that point you can always re-print it by going to Reports > POS Sales. If you have Google print or Print Node enabled it will automatically send the print job to the cloud.
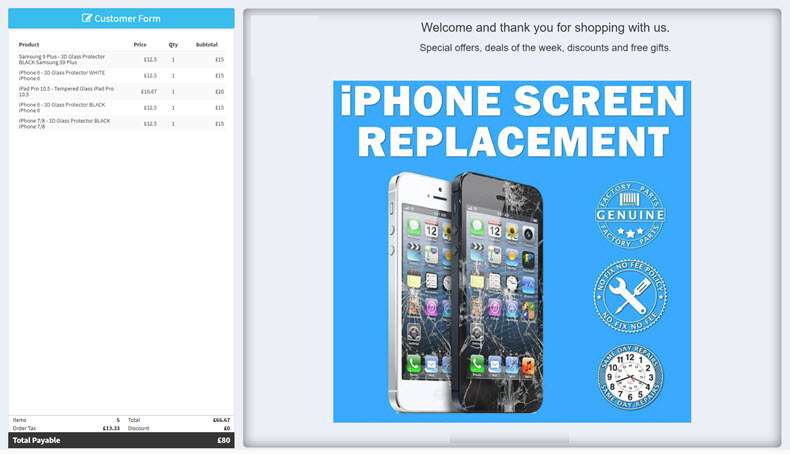
Customer Display

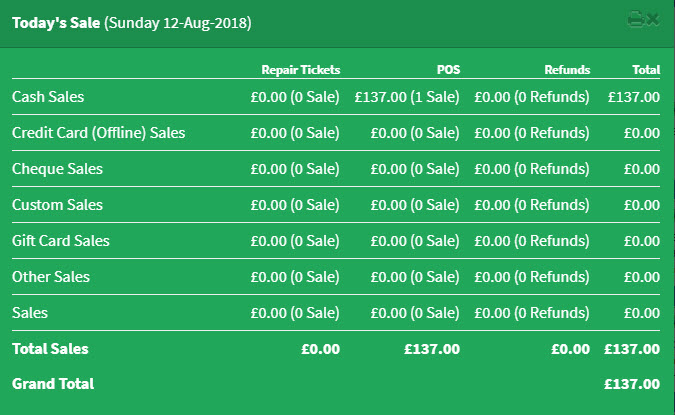
Today’s Sales
To see today’s sales please click on “Today’s Sale” icon ![]() located in the “Top Navigation” bar.
located in the “Top Navigation” bar.
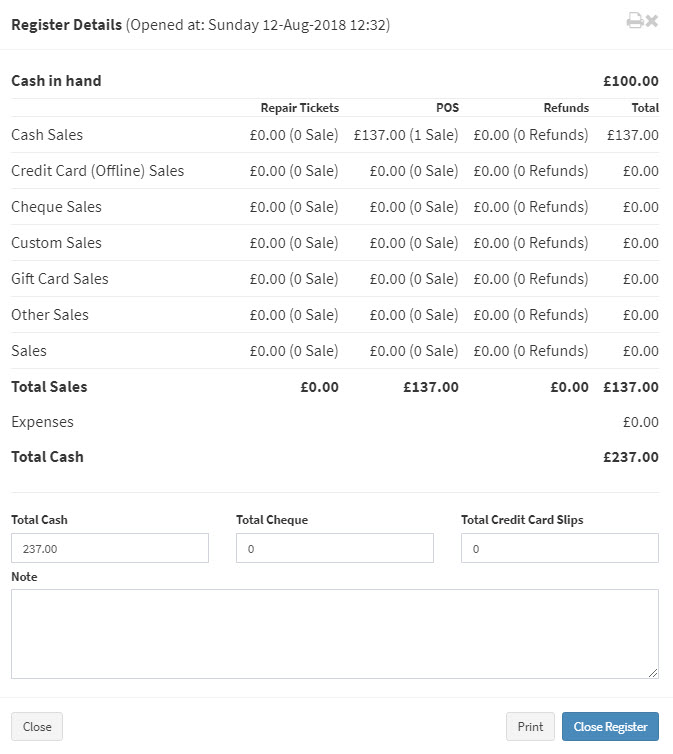
Close Register
Once you have closed your shop you will need to close the register, please click on the “Close Register” icon ![]() located in the “Top Navigation” bar. When you finished matching up the cash please click on the “Close Register” button.
located in the “Top Navigation” bar. When you finished matching up the cash please click on the “Close Register” button.
Shortcut Keys
Shortcut keys are very useful on the POS screen, it makes the whole process even quicker. Followings are some keys which will work ONLY on the POS screen. You can access the list of shortcut keys by clicking on “Shortcut Keys” icon ![]() located in the “Top Navigation” bar.
located in the “Top Navigation” bar.
| Shortcut Keys | Action |
|---|---|
| Ctrl+Q | Focus Add Customer Input |
| Ctrl+F | Focus Add Product/Service to Sale |
| Ctrl+Enter | Payment Screen |
| Ctrl+BACKSPACE | Reset Order |
| Ctrl+Alt+P | Print Order |
| Ctrl+Alt+H | Suspend Order |
| Ctrl+Alt+B | Print Bill |
| Ctrl+Alt+G | Sell Gift Card |
| Alt+M | Toggle Models Slider |
| Alt+C | Toggle Categories Slider |
| Alt+L | Load Default Products |
| Alt+N | New Ticket |
| Alt+S | Search Tickets |

