We have added an option to create a wrapper and add multiple components mapped with the categories, an example of this would be a computer system that has multiple items and you can map component 1 called “CPU” with the “CPU” category, component 2 called “Motherboard” with “Motherboard” category and so on, once the container is created then you can apply it to any ticket or even estimates.
This will speed up the process and you will not forget an important component also the system will force you to choose items from respective categories. Also, there is no danger of missing parts on the ticket or when giving an estimate. You can create containers to suit your business needs. A container could have a set of products from different categories which you can set to be required or not and one of them could be a “Warranty“, the limits are endless.
Let’s start the process.
- Please head to the “Container Manager“, you can go to Products > Manage (Dropdown) > Container
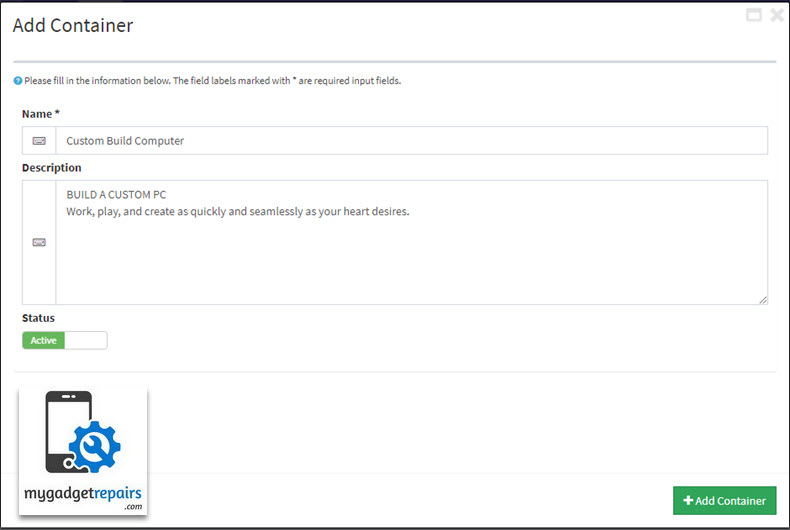
- Click on the “Add New Container” button from the top left-hand side and enter the “Name” and “Description“, please note that if “Preset/Container itemized” is set to “No” then the name of the container will be used on the invoice and receipts. Once ready click on the “Add Container” button.
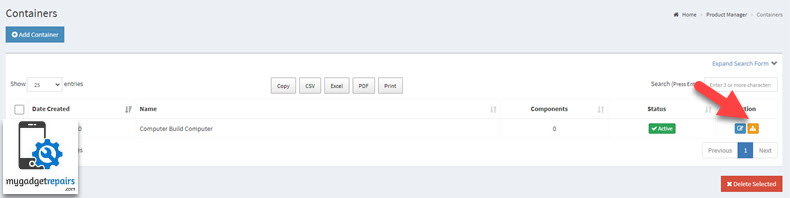
- Once the container is created you can add the components to the container. Please click on the “Add Component” icon.
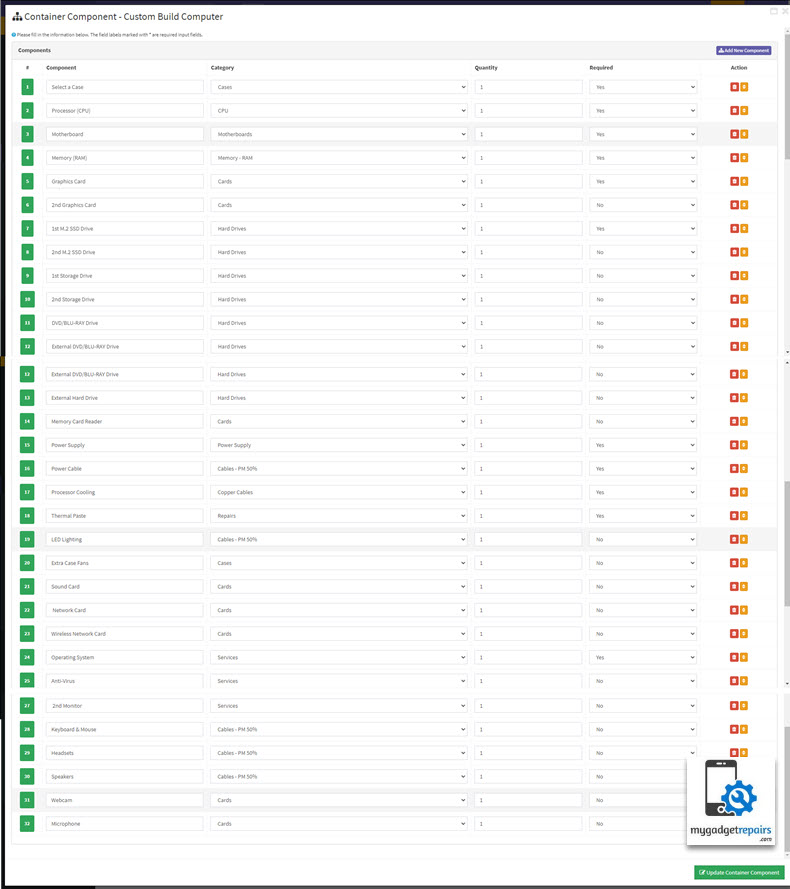
- A new popup will open, that’s where you would map the components with their categories. In the following screenshot, you can see how the components and category mapping work along with the quantity and if it’s required or not.
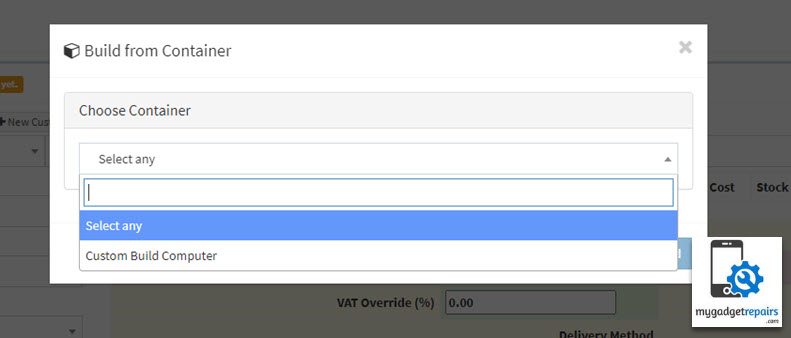
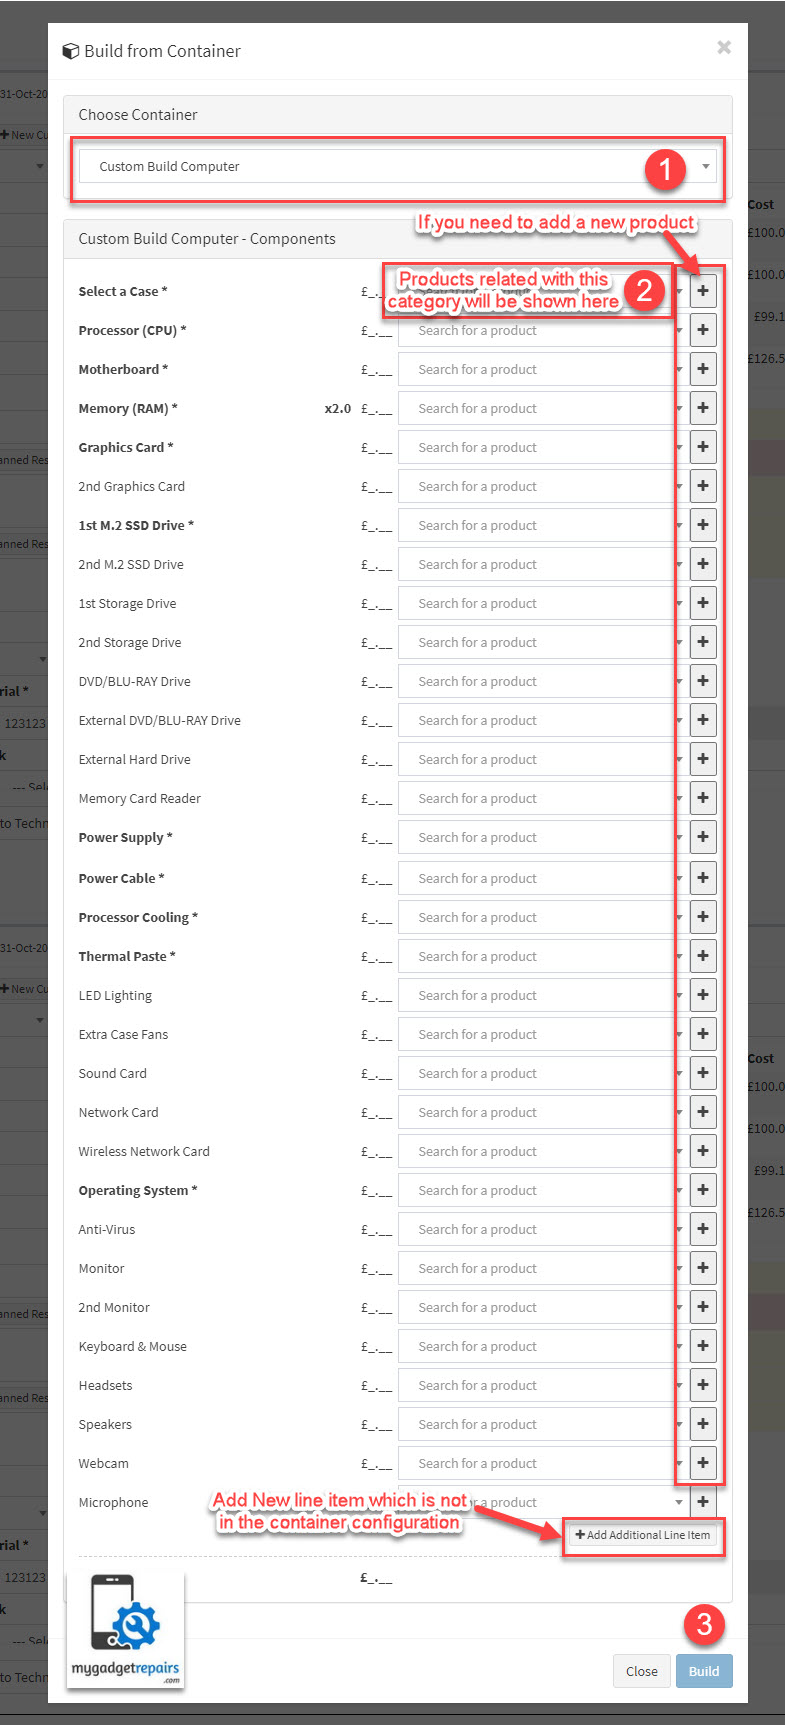
- Once the “Container” is created it will be available on the “Estimate” and “Ticket” interfaces, let’s head to the “Estimate” interface first. You will see a new button called “Build from Container“, you will only see this if you have at least one active container. Please click on the button, and it will open a new popup, please select the container and it will load all the “Components” within that container. Please note that you must select all the “Required” ones as the system will add everything at once as line items.
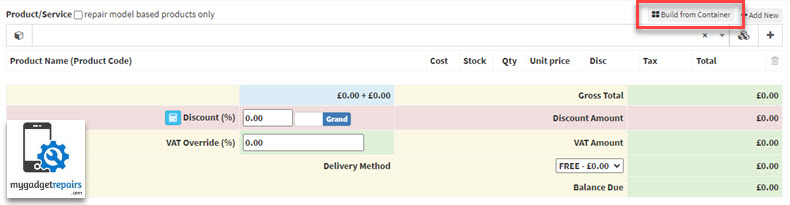
- Please also note that the “Customer” and the “Customer Group” discount will be applied once the components are added as line items.
- Once ready please click on the “Build” button which will add all the components as line items.
- The process is exactly the same if you come from the ticket interface.
You also have the option to add a “Default Product” in each component, this will allow you to manage the container line items better. Please note that if the “Default Product” is selected then you don’t need to select the category. You can also use the containers to just add products as well if needed. For example, you can create a container called “1 TB harddisk replacement” and add 1 service called “Labour” and one part called “1 TB harddisk“. Once you selected the container both items will be added as line items.

