These are designed to be shared with your customer before/after work is complete, giving the customer the opportunity to review the work that is about to be performed/has been done. You can then have them agree to terms and capture a signature.
Please follow the following steps to create intake and outtake forms.
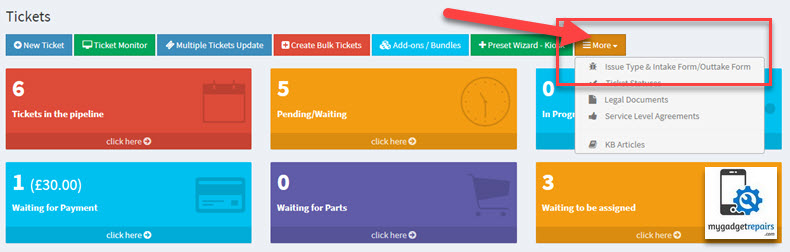
- Go to the “Ticket Manager” > click on the “More” button and choose “Issue Type & Intake Form/Outtake Form“. Please note that intake/outtake forms are joined with issue types. You can also go to the same page via the shop settings > misc > intake form /outtake form.
- You will see the list of all the “Issue Types“, please choose the “Issue Types” you need the form for and click on the “Edit” icon.

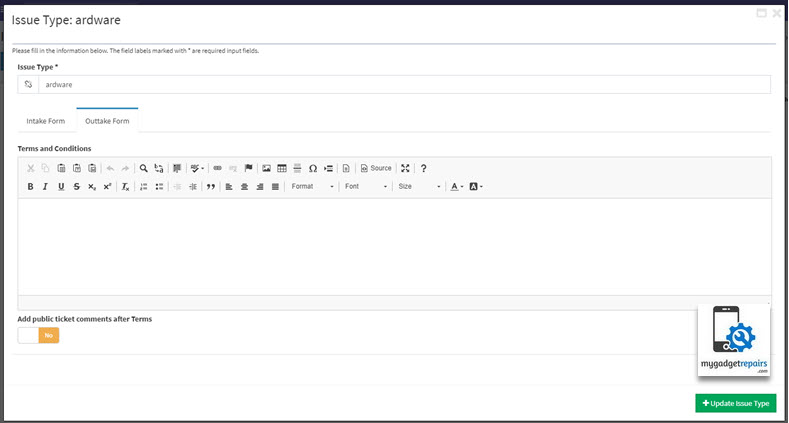
- Add the appropriate terms so the customer can read and sign. On the outtake form, you can also add the public ticket comments if needed.
Intake Form
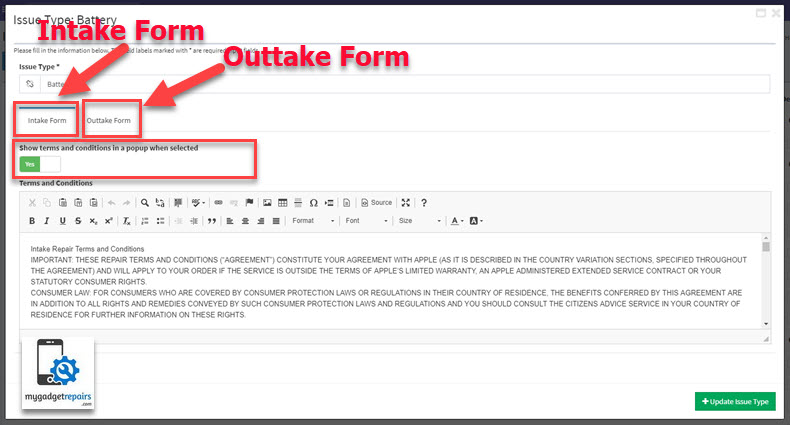 Outtake Form
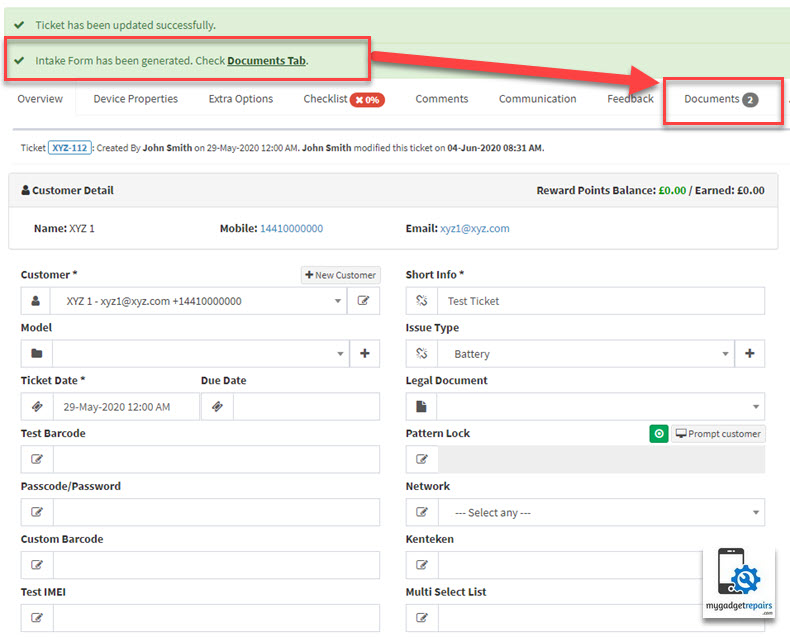
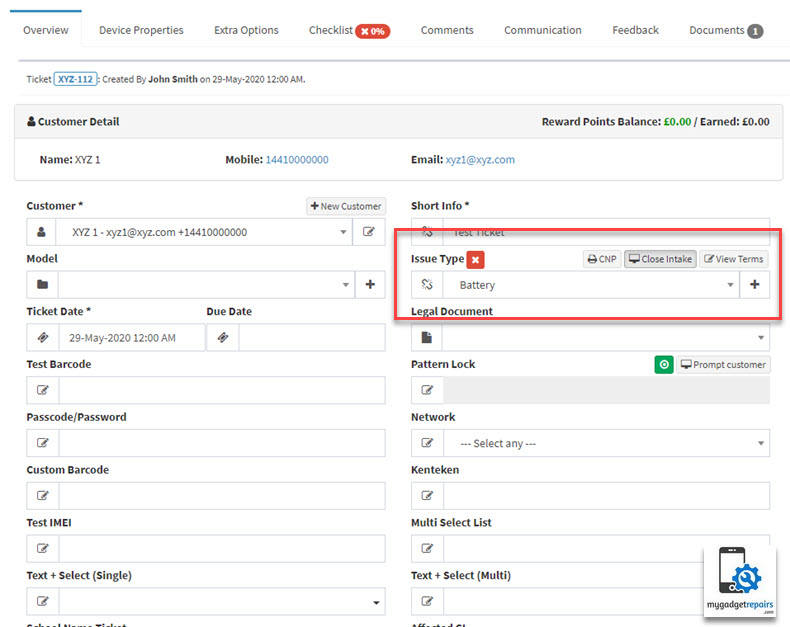
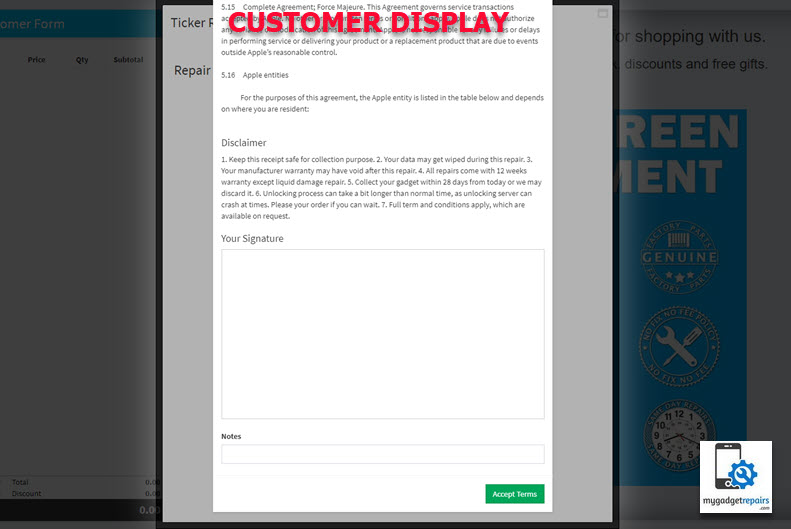
- Once the forms are created system will automatically show the forms to your staff and on the customer screen (Based on the Issue Type). Customer must accept the terms and once accepted it will create a pdf file which will be stored in the documents tab. The same file will also be available via the customer portal.
Staff Screen
 Customer Display
- Once the customer has signed and accepted the terms your staff will be able to see that on their screen as the red cross icon will turn in to a green tick. Please note that Topaz signature pads can be used as well.
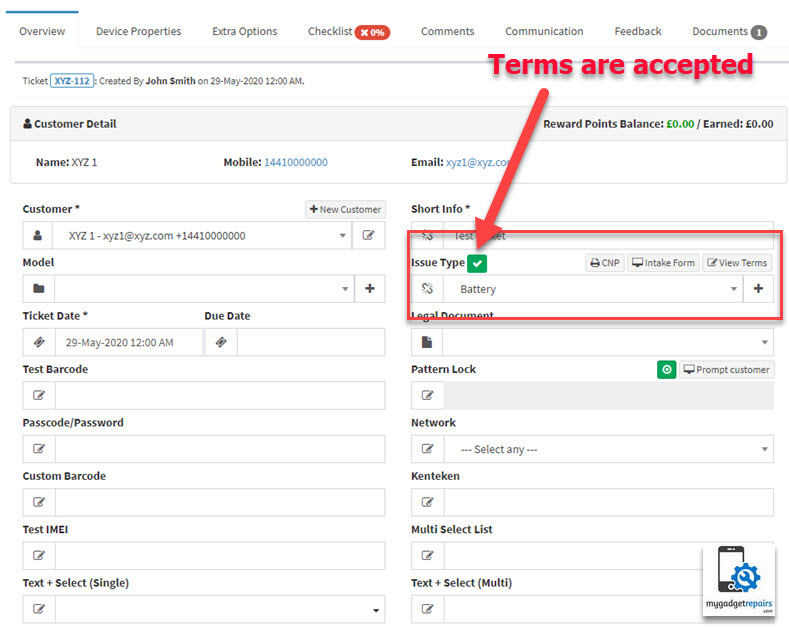
- As soon as your staff clicks on the “Update Ticket” button the system will generate the forms.