Integrate and automate MGR with your Cloud Apps
Connect your MGR account with thousands of cloud apps via Zapier. Speed up your processes by letting Zapier do the work for you instantly.
This article walks you through setting up the MGR integration through your Zapier account. This integration allows you to capture any events triggered in your MGR account and use that information with your other Zaps.
MyGadgetRepairs Triggered Zap
This procedure walks you through setting up a Zap that will trigger off of any event that occurs in MGR. This is useful if you want to leverage other Zaps using MGR data as the trigger.
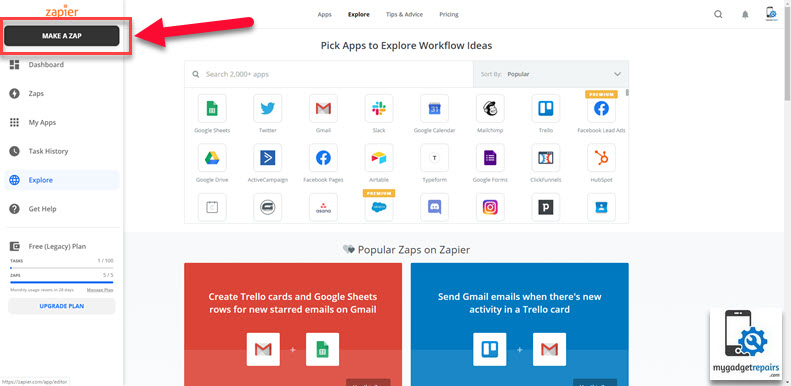
- From your Zapier account, click on MAKE A ZAP!
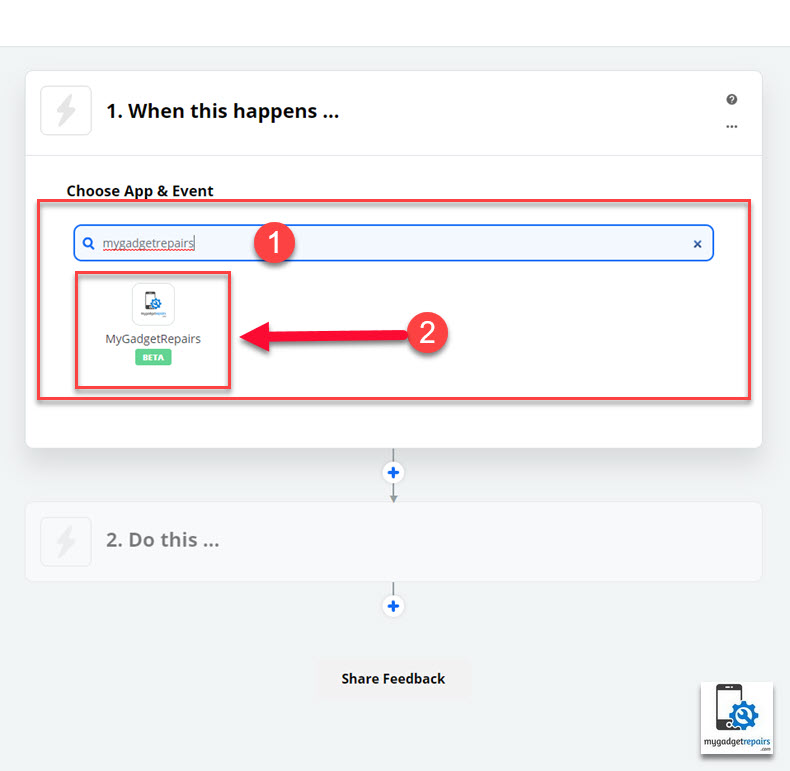
- Enter “MyGadgetRepairs” in the “Choose App & Event” box and then click on the MyGadgetRepairs app icon.
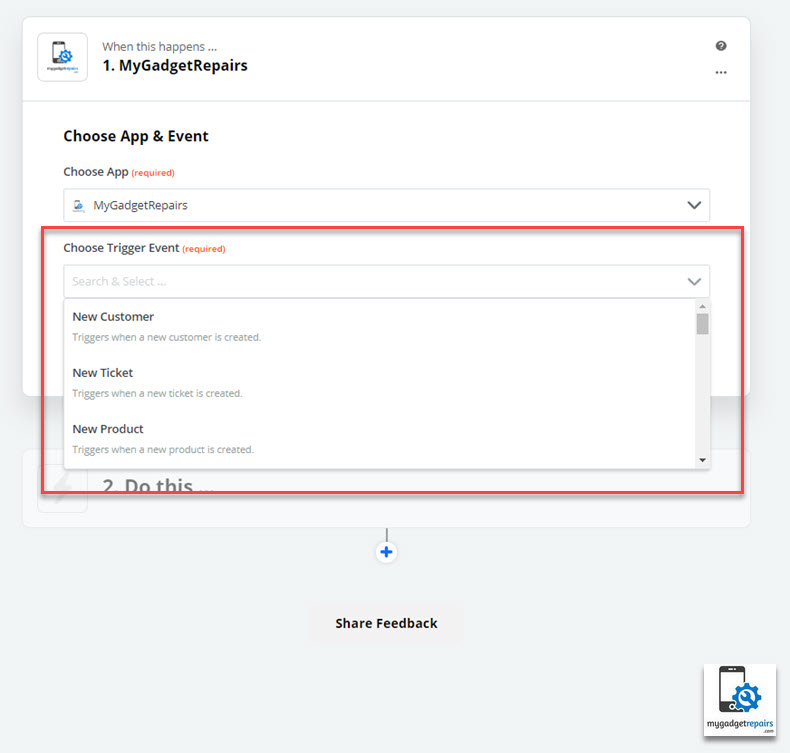
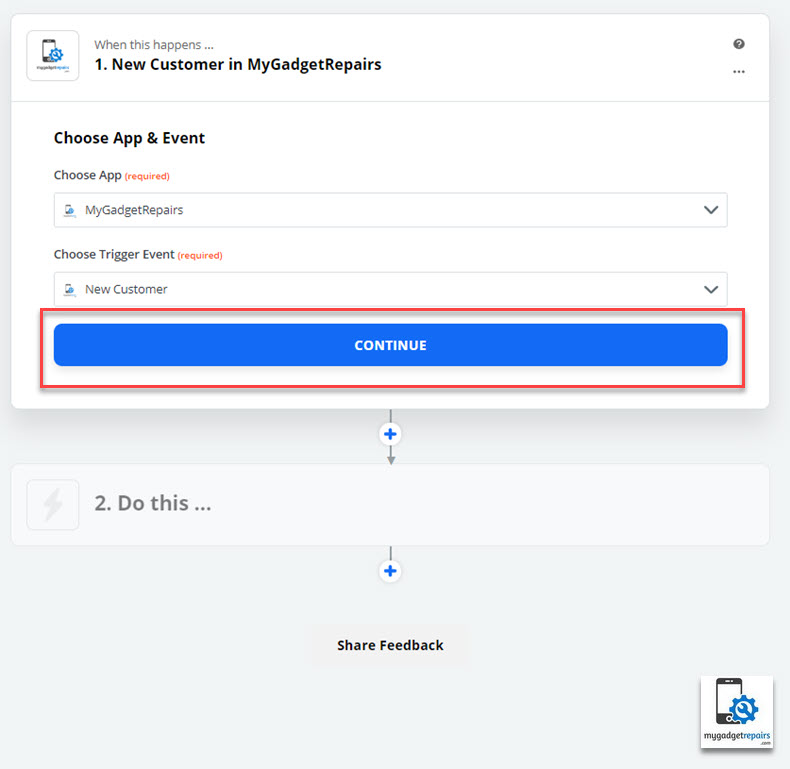
- “Choose Trigger Event” from the list and then click on “Continue”.
- Currently, we have the following “Triggers“, “Actions” and “Searches“.
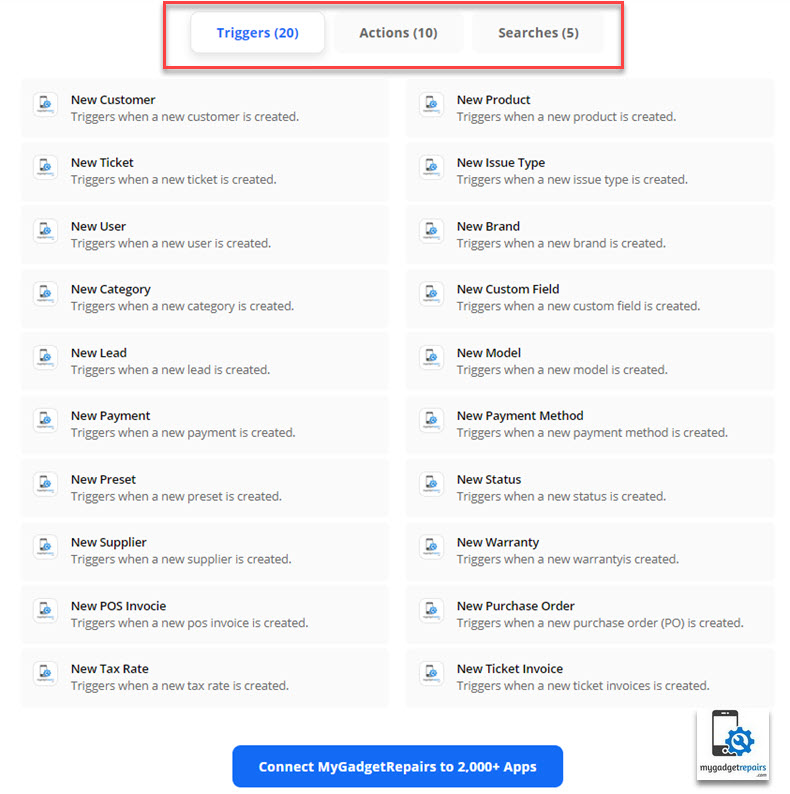
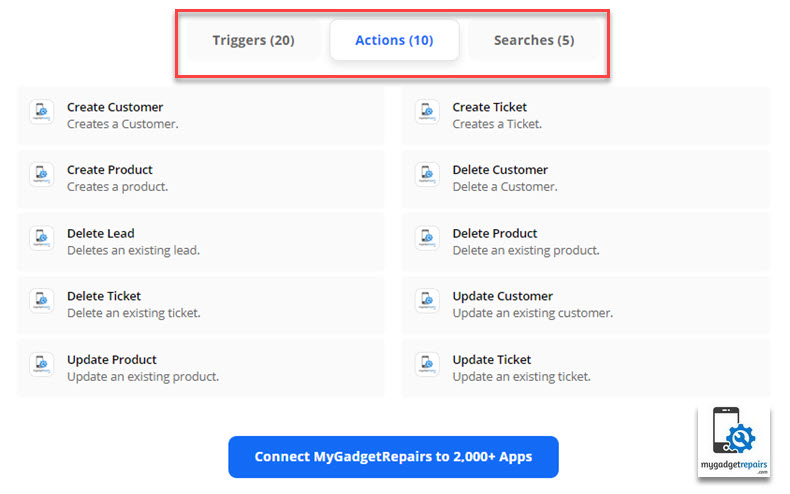
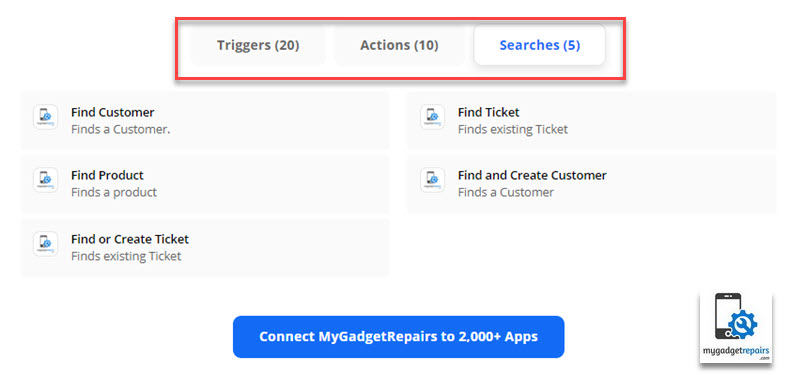 https://zapier.com/apps/mygadgetrepairs/integrations
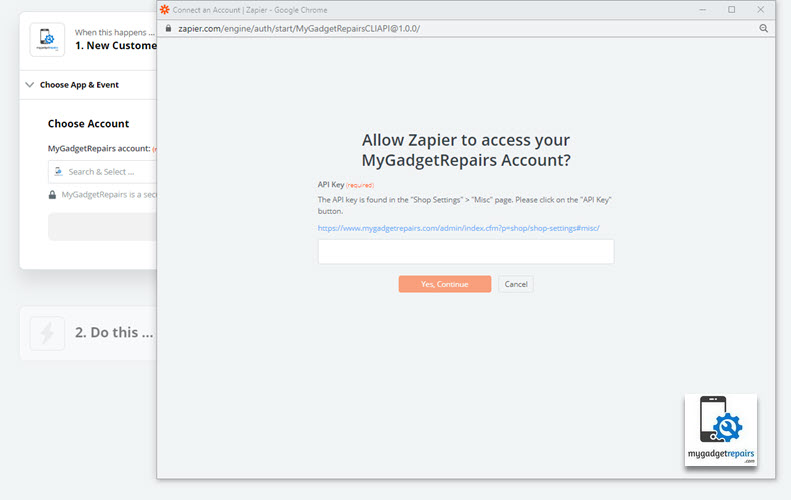
 - From the next screen “Choose Account“, click on “Add a new account” and a window will pop up. Please enter your MGR API key then click “Yes, Continue”, if you don’t have one then please create a new API key via the “Shop Settings” > “Misc” page and generate a new “API Key“.
- Click “Continue” and then “Test & Continue” to verify the connection, once finished click on “Done Editing” to complete the process. Now we have the “Trigger” set up.
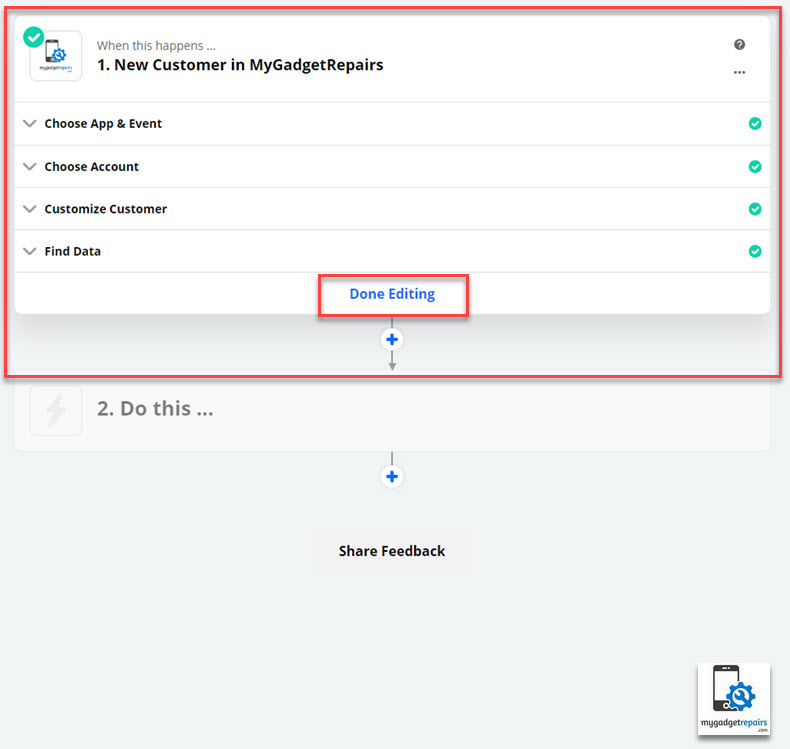
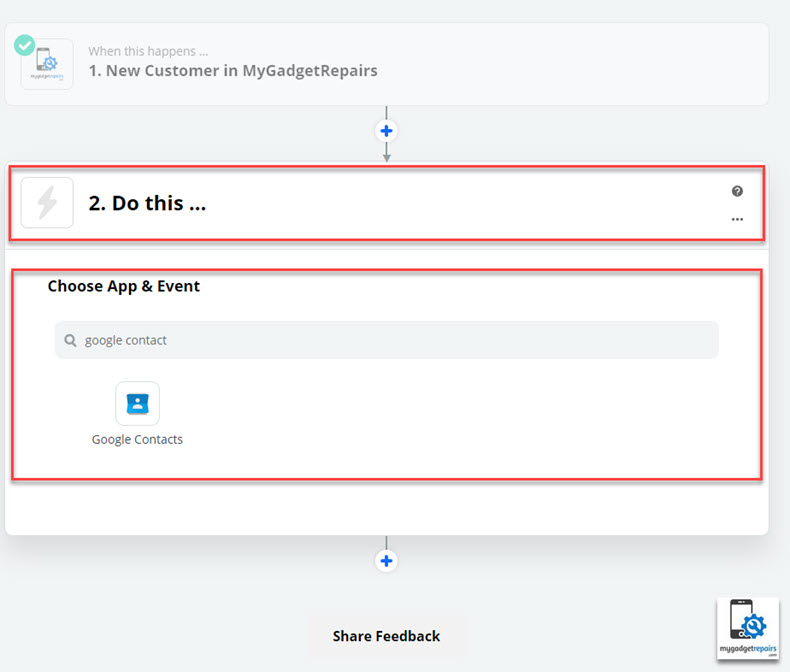
- Next, we need to configure what to do when this triggers and that’s where you connect to other cloud-based applications. In the following example, we will send any new customer to Google Contact. Please click on “Do this…“, from “Choose App & Event” search for “Google Contact“.
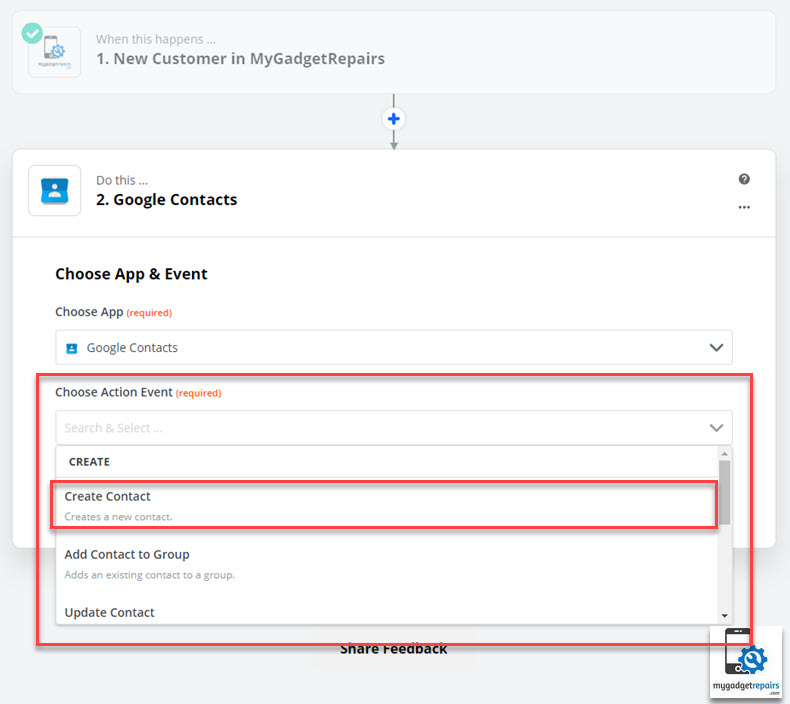
- From “Choose Action Event“, select “Create Contact” and then click on “Continue“.
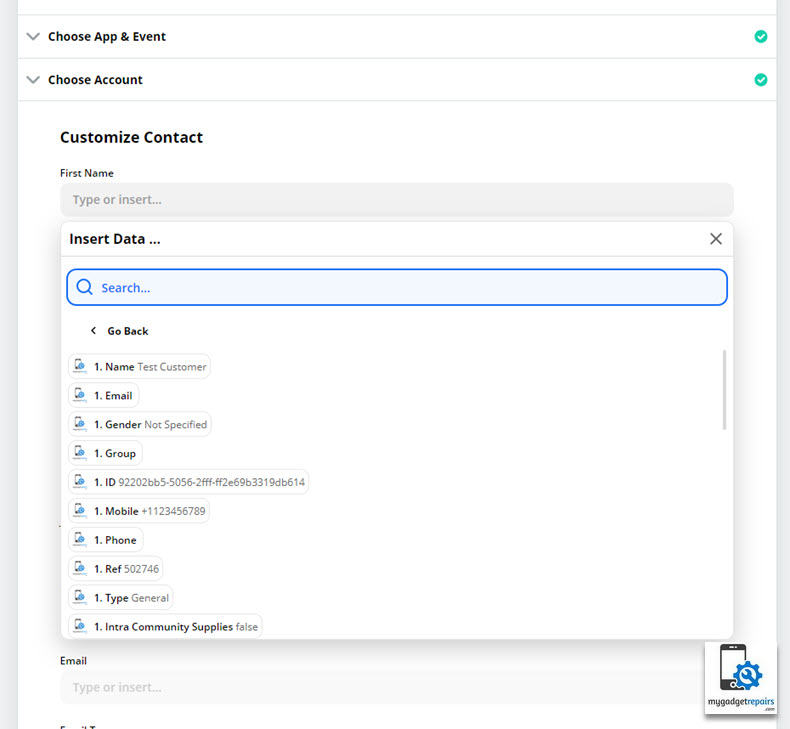
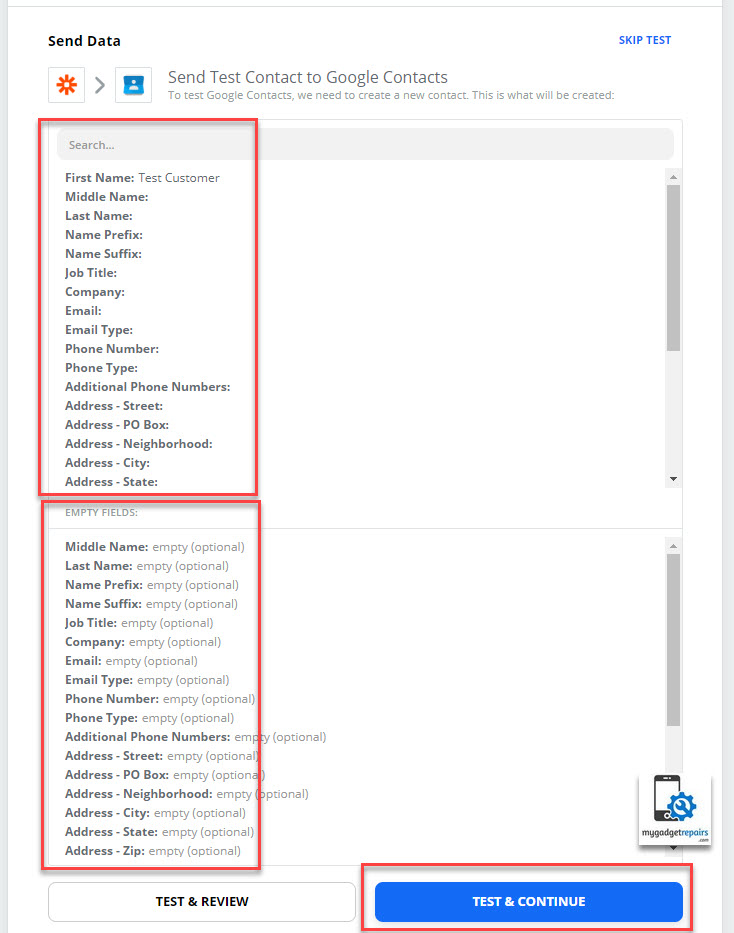
- On the next screen “Sign in to Google Contacts” by using your Gmail credentials and “Allow” if needed. Once finished click on “Continue” to map the fields sent by MGR trigger. On this screen, you will map which field goes where in Google Contact. You would map “First Name” with “Name“, “Email” with “Email” and so on. Once finished click on “Continue“.
- On the next screen, it will show you the mapped columns so the empty fields (which are not mapped). Please click on “Test & Continue“.
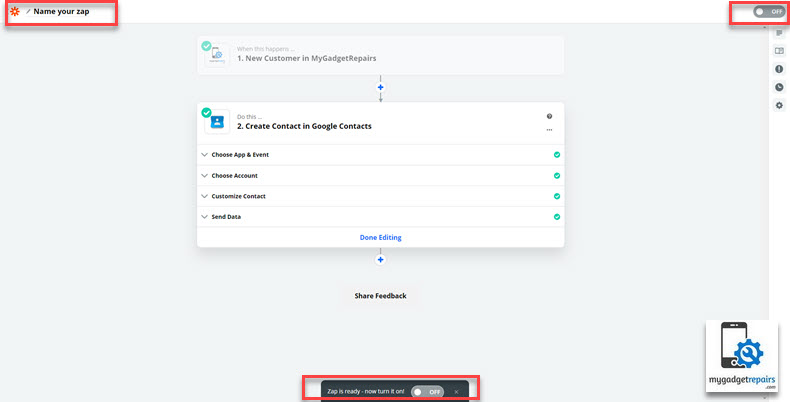
- Once finished please don’t forget to name and switch on the zap. That’s it.
By using the above example you can use all the available MGR triggers, actions and searches to connect to over 2000+ integrations provided by Zapier. Please note that mapping with differ in each app and event however the concept is the same. The followings are some articles from Zapier to get most out of it.

