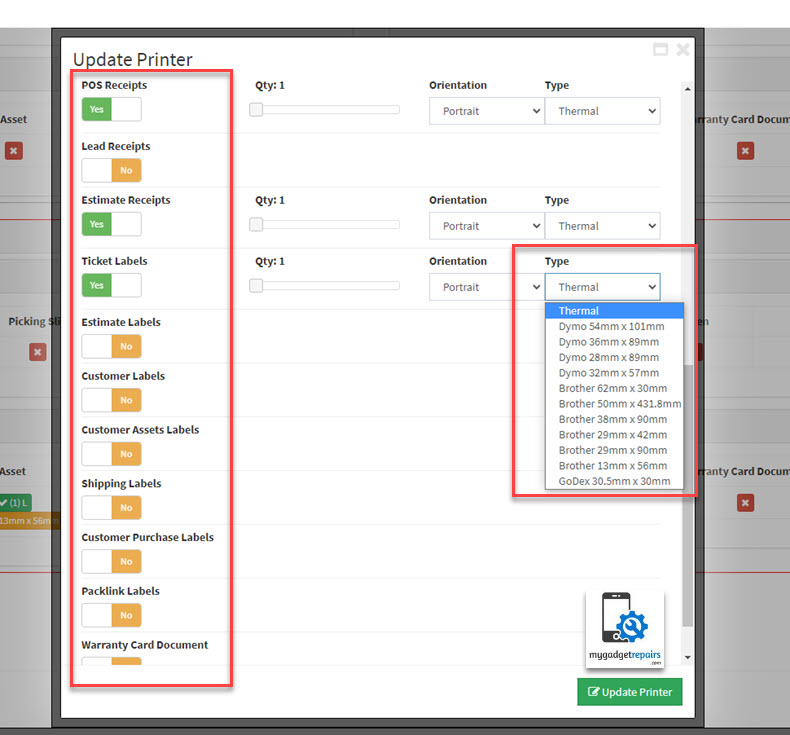
Printing labels on a label printer can be very tricky due to the label size and the amount of data you want to show/print on the labels.
You can either use direct browser printing or you can use a service called PrintNode which involves installing a small app on your computer. The label is sent to the PrintNode server which then pushes it to your computer and automatically prints the label from your label printer.
Please note that all the templates are located under the settings > template editor. You can modify as you like, please note that all of the templates are HTML and CSS is also supported.
Browser Print Dialogue
If you’re using the browser print option then you may have to check the below settings.
- PLEASE DON’T FORGET TO DISABLE THE HEADER AND FOOTER IN THE BROWSER PRINT SETTINGS.
- FF: File > Print Setup > Margin & Header/Footer Make All –Blank–
- Chrome: Menu > Print > Disable Header/Footer In Option & Set Margins To None
- All other Browsers: Just the browser help to reduce/disable the margin.
- Most of the time this will fix the printing issue however you can apply the below method too if needed.
- When it comes to the paper size you can define that in the HTML as in the below example. Let’s say you’re using Dymo 30252 labels, the Dymo 30252 Address label measures 1-1/8″ x 3-1/2″ (28.7mm x 88.9mm) your outer div would look like the following. As long as you know your label size you can apply it to the outer <div> to control the width and height precisely.
-
<div style="text-align:center;height:29mm;width:90mm;margin:0 auto;"> <div style="height: 50px; overflow: hidden;">[IMG_BARCODE HEIGHT="100%"]</div> <div style="white-space: nowrap;">Ref: <strong>[REPAIR_REF]</strong> - Due: <strong>[REPAIR_DUE_DT]</strong></div> <div style="white-space: nowrap;">Name: <strong>[CUSTOMER_NAME]</strong> - <strong>[CUSTOMER_NUMBER]</strong></div> <div>[REPAIR_SHORT_INFO]</div> </div>
-
PrintNode Integration
Please enable the PrintNode integration from the Print tab on the integration page. Confirm your API Key and click the “Fetch Printers” button, and we’ll display your available printers. Select your printer and you’ll be all set.

Click on the “Edit” icon to configure additional settings.


