For most inventory management scenarios, each product’s total quantity on hand is the most important piece of data to track. As long as you know how much of each product’s stock is coming in through the back door and out through the front, your inventory needs are met. But what if individual units need to be tracked separately?
Choosing to track serial numbers is a decision you should make on a case-by-case basis. Products that use serialization are generally more valuable. Otherwise, they may be more strictly regulated by government organizations or other overseeing bodies. In less definite cases, you may still opt for serialization for certain purposes. Serial numbers make it easier to track individual purchases for warranty claims. Manufacturer recalls are also reliant on serial numbers to specify which products carry defects.
Serialization also helps you to track your inventory items, from receiving items from your supplier until their sale to end customers. Creating serials also help you to differentiate the same products from different suppliers.
The steps are as follows…
- Please make sure that the product has “Serialised Stock” set to “Yes” first if it’s not then you will not see the following option in the stock manager.
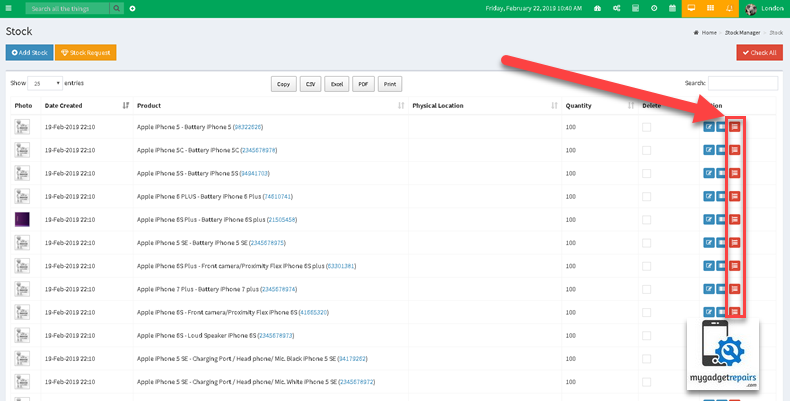
- Go to the Stock Manager > Stock or you can go to the actual product and click on the Stock Info tab, either way, is fine.
- Click on the “Generate Serial” icon under the Action column.
- It will take you “Generate Stock Serials” where you will see 3 different methods to generate serials. Please choose the one suit your needs along with “Warranty Term In Days“, this is suppliers warranty.
- System Generated
- Provide Range
- Input Serials Manually
- Once decided please click on the “Generate Stock Serials“, on the next page you will see all the unique serials generate by the system using the specified method.

- To print the labels please click on the “Print Bar code/Labels” button. Please stick the labels on the products so they are ready to be used on the POS and ticketing interface.

How to use serialized bar code on the POS or ticketing interface.
From the POS interface.
Scan the bar code as normal, the system will automatically add the item, you can also add the item by stock code but then you will need to choose the serial. You can click on the serialized icon to add more items.

If you have added a serialized item in the bundle it will work the same way.
From Ticket interface.
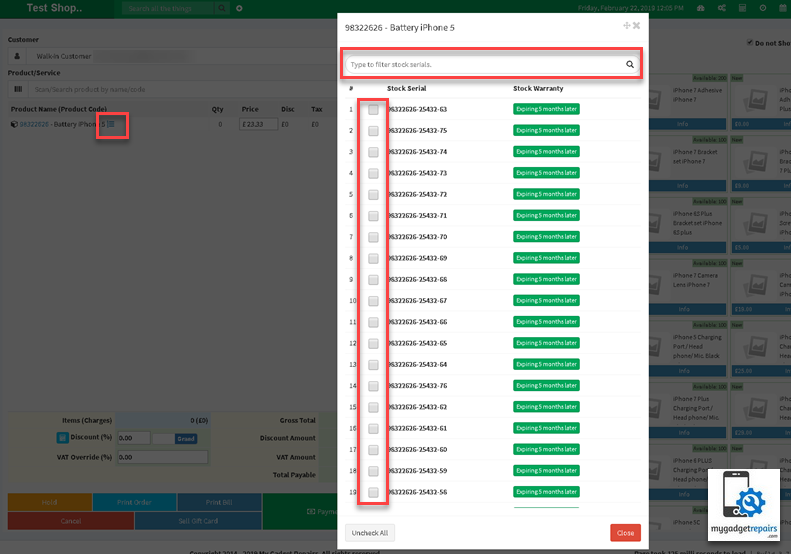
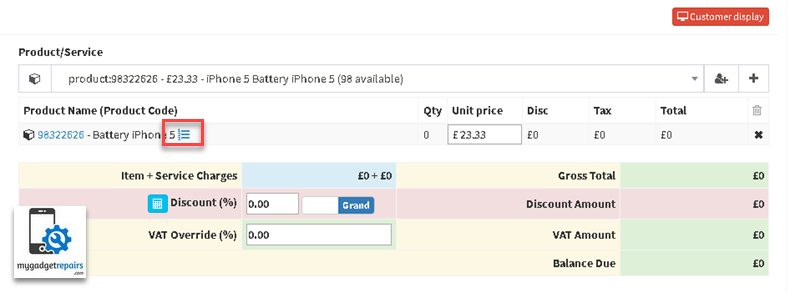
Please choose the product from the “Product/Service” section, from this interface you cant scan. Once the product has been added please click on the “Serialized” icon and then scan the product.
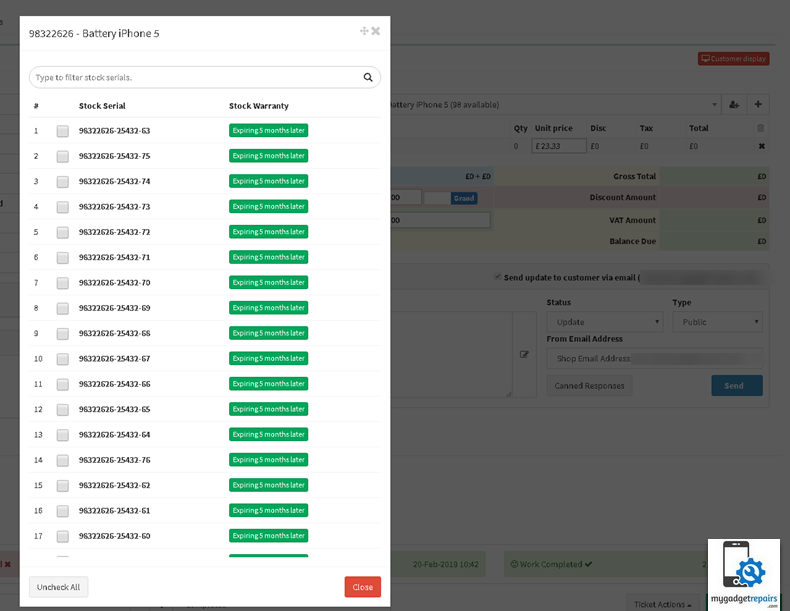
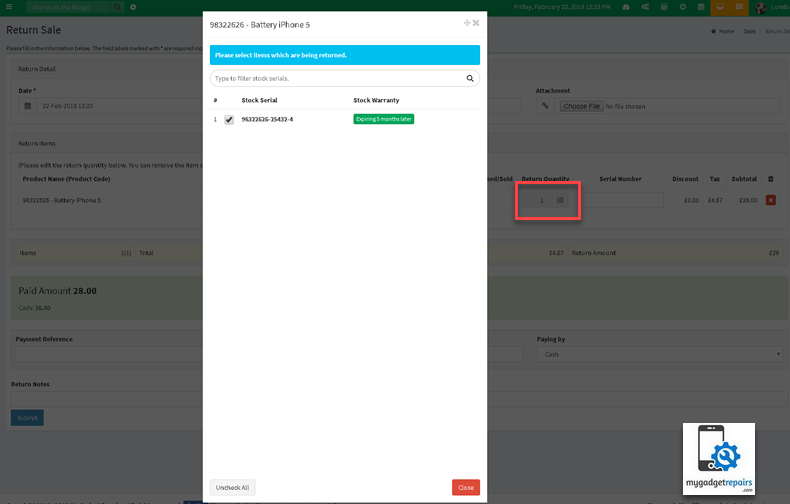
Its the same from refund interface, you click on the “Serialized” icon and choose the one they are going to refund. If the quantity is one then you don’t need to click on the button, if it’s more than 1 then you need to choose which one they are returning.